
Solar Panel Installation Guide for Homeowners
Installing solar panels at home requires careful planning, quality equipment, and correct installation to ensure safety and efficiency. Homeowners must evaluate their property, estimate energy demand, and comply with local permits before starting. Choosing the right panels, inverter, and mounting system makes a big difference in performance. With proper setup and maintenance, a solar energy system can reduce costs, improve efficiency, and increase property value.
Planning and Preparation
Assessing Your Home’s Solar Suitability
The first step is evaluating if your property can support solar panels. Roof angle, direction, and shading from trees or nearby buildings affect performance. A south-facing roof with minimal obstruction generally produces the best results. Structural strength must also be checked to ensure it can hold panels. If the roof isn’t suitable, ground-mounted systems are an option. A professional site assessment helps determine real potential accurately.
Estimating Energy Needs and System Size
Reviewing past electricity bills helps estimate household energy use. Understanding daily and seasonal consumption ensures the system size matches your needs. Oversized systems may increase upfront costs, while undersized systems limit benefits. Installers often use specialized software to calculate output based on location and sunlight hours. Matching panel capacity with lifestyle habits ensures reliable performance. Accurate calculations reduce waste and help achieve the best financial return.
Understanding Permits, Incentives, and Regulations
Before installation, check local building permits and utility interconnection requirements. Many regions offer rebates, tax credits, or net metering programs that improve solar’s financial appeal. Homeowners must also meet safety codes and fire regulations. Working with certified installers simplifies paperwork and compliance. Missing permits can lead to delays or fines, so it’s critical to resolve them early. Incentives and regulations vary widely, so always confirm region-specific requirements.
Choosing Components and Equipment
Types of Solar Panels and Efficiency Ratings
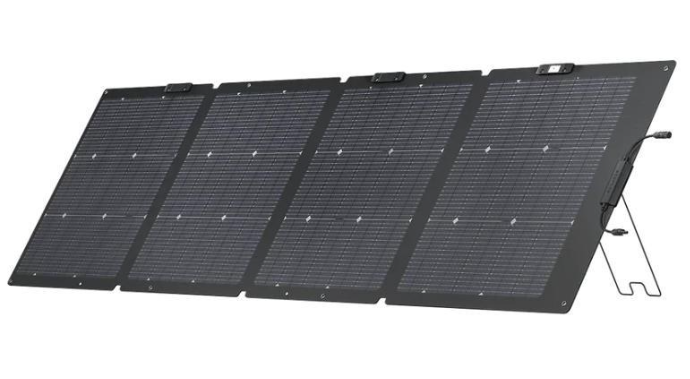
Solar panels vary by type, efficiency, and cost. Monocrystalline panels provide the highest efficiency and compact design, but are more expensive. Polycrystalline panels are slightly less efficient but budget-friendly. Thin-film panels work well in certain conditions, though they need more space. Efficiency ratings determine how much sunlight converts into usable energy. Choosing panels that balance cost, efficiency, and durability ensures long-term value and reliable performance.
Inverters, Mounting, Wiring, and Optional Battery Storage
The inverter converts solar energy into electricity for home use. String inverters handle multiple panels, while microinverters work on individual units, reducing shading losses. Mounting systems must secure panels to roofs or the ground safely. Proper wiring ensures safe connections and reliable energy flow. Battery storage adds backup power, storing excess energy for nighttime or outages. These components together create a complete, efficient solar energy system.
Quality, Warranty, and Cost Considerations
High-quality solar equipment lasts longer and performs more reliably. Look for panels with performance warranties of 20–25 years and product warranties of 10–15 years. Inverters usually carry shorter warranties, but they are equally important to check. Compare costs not only upfront but also over the system’s lifetime. Avoid the cheapest options if they compromise durability. Investing in reputable brands provides peace of mind and better returns.
Installation Process
Mounting System Setup (Roof vs Ground Mount)
Installers first secure the mounting system, which supports the panels. Roof mounts attach directly to rafters, requiring proper sealing to prevent leaks. Steep or shaded roofs may benefit from ground-mounted systems, which allow adjustable angles and easier maintenance. Ground systems need more land and foundation work, but they improve performance where roofs aren’t ideal. Properly installed mounts ensure long-term stability, critical for safety and optimal energy generation.
Electrical Wiring, Inverter Hookup, and Grid Connection
After mounting, electricians install wiring to connect panels to the inverter. The inverter then links to the home’s electrical panel, supplying usable power. For grid-tied systems, installers coordinate with the utility company for interconnection approval. Safety devices like breakers and disconnect switches are added. Proper grounding prevents electrical hazards. Certified electricians ensure compliance with codes and maximize efficiency. This stage transforms sunlight into functional household electricity.
Inspection, Activation, and Testing
Once installation is complete, local authorities or utility companies inspect the system. Inspections verify electrical safety, structural security, and compliance with permits. After approval, the system is activated and tested to confirm power output matches expectations. Monitoring software helps track production in real time. This final step ensures the solar array operates safely, efficiently, and legally. Homeowners can then begin enjoying savings from their renewable energy system.
Maintenance, Efficiency & Safety Best Practices
Regular Cleaning, Monitoring & Performance Checks
Solar panels require minimal upkeep, but regular cleaning improves performance. Dust, leaves, and snow reduce efficiency if left unchecked. Many homeowners schedule annual or seasonal cleanings. Monitoring systems provide data on output, helping detect issues early. Regular checks ensure wiring, inverters, and connections remain secure. Professional inspections every few years extend system life. Simple maintenance steps ensure panels deliver reliable, high-efficiency energy throughout their expected lifespan.
Safety Precautions During and After Installation
Safety is critical when working with solar panels. During installation, professionals follow fall-protection rules and electrical safety codes. Homeowners should never attempt complex wiring or roof work alone. After installation, avoid walking on panels, and turn off power before maintenance. Always use insulated tools when handling electrical parts. Following these safety precautions prevents accidents and protects both the system and people. Professional involvement is strongly recommended.
Common Mistakes & How to Avoid Them
Mistakes often stem from poor planning or low-quality equipment. Undersizing or oversizing systems leads to inefficiency and higher costs. Skipping permits creates delays and possible fines. Improper wiring or mounting increases the risk of fires or leaks. Ignoring warranties leaves owners vulnerable to expensive repairs. Choosing certified installers, checking reviews, and investing in reliable components prevent these problems. Avoiding these mistakes ensures a safe, efficient, and cost-effective solar installation.
Conclusion
A successful solar installation involves proper planning, quality equipment, and safe installation. Homeowners should assess suitability, size systems correctly, and comply with permits. Choosing durable components with strong warranties ensures long-term performance. Regular cleaning and monitoring keep panels efficient. When installed and maintained correctly, a solar panel provides decades of clean energy, reduces electricity bills, and enhances property value, making it a smart investment for most households.
also read: Latest Refrigerator Price in Pakistan – 2025 Market Trends


